Worn-out insoles can significantly affect the comfort and support of your shoes. Replacing or repairing them can rejuvenate your footwear and enhance your walking experience. This report provides a comprehensive guide on how to fix worn-out insoles, including steps for replacement and repair, as well as tips for maintaining the longevity of your insoles.
Renew Your Comfort: How to Fix Worn Out Insoles Easily
1. Importance of Insoles
Insoles play a crucial role in providing cushioning, support, and stability to your feet. They help in distributing pressure evenly and can alleviate foot pain and discomfort. Over time, insoles can wear out, losing their shape and effectiveness, which necessitates their replacement or repair.
2. Signs That Your Insoles Need Replacement
Several indicators suggest that it’s time to replace your insoles:
- Discoloration: One of the first signs of worn-out insoles is discoloration.
- Visible Wear and Tear: Any visible damage or wear on the insoles .
- Loss of Shape: When insoles become compressed and no longer retain their original shape or density .
- Unpleasant Odor: Persistent unpleasant smell even after airing out the shoes.
3. Steps to Replace Insoles
Replacing insoles is a straightforward process that can be done at home. Here’s a step-by-step guide:
- Remove the Existing Insoles: Carefully take out the old insoles from your shoes.
- Clean the Inside of the Shoes: Use a damp cloth to clean the inside of the shoes to remove any dirt or debris.
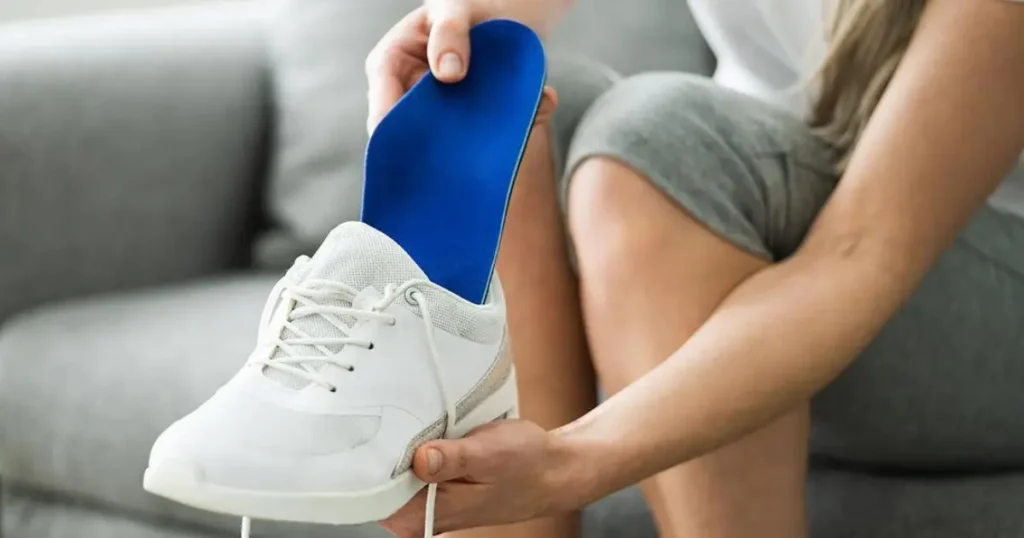
- Place the New Insoles: Insert the new insoles into the shoes, ensuring they fit properly.
- Secure the Insoles in Place: Make sure the insoles are securely placed and do not move around.
- Adjust the Fit: Walk around to ensure the new insoles are comfortable and properly aligned.
- Enjoy the Comfort: With the new insoles in place, enjoy the enhanced comfort and support .
4. Repairing Worn-Out Insoles how to Fix
If you prefer to repair rather than replace your insoles, here are some methods:
i. Using a Foam Insole
- Trace and Cut Foam: Take a piece of foam, place your shoe on it, and trace the shape. Cut out the foam insole.
- Glue the Foam Insole: Apply glue to the foam insole and press it onto the shoe until the glue dries.
- Avoid Immediate Use: Do not wear the shoes immediately to allow the glue to set properly.
ii. Patching with Adhesive
- Clean the Area: Clean the area around the hole with water and alcohol.
- Roughen the Edges: Use 120-grit sandpaper to roughen up the edges of the hole.
- Apply Adhesive: Fill the hole with shoe sole adhesive and smooth the surface with an ice cube.
- Let it Dry: Allow the shoe to dry for 24 hours with the sole turned up.
- Sand Down Excess Adhesive: Sand down any dried adhesive that overflowed from the hole.
5. Tips for Maintaining Insoles
- Regular Cleaning: Hand wash insoles with warm water and mild soap, and allow them to air dry .
- Avoid Machine Washing: Do not put insoles in the washing machine or dryer as it can damage them.
- Use FLAT SOCKS: Consider using FLAT SOCKS to add cushioning and reduce wear on your insoles.
How to Fix Worn Out Insoles Briefly Discussed Below
If you’ve noticed cracks, uneven wear, or lack of cushioning and support in your shoe insoles, it may be time for some repairs. Worn out insoles can lead to foot pain, poor posture, and even injuries. Luckily, there are some easy DIY ways to fix your old insoles before you have to replace them. With a little time and effort, you can restore comfort and support.
i. Assessing the Damage
The first step is to take out your insoles and thoroughly examine them to understand the issues you need to address.
Look for any cracks, tears, or holes – these weak spots mean your insoles have broken down and can allow debris inside, causing more wear. Check if certain areas seem more compressed or unevenly worn than others. This usually happens under pressure points like the heels or ball of the foot. See if your insoles have lost integrity or cushioning by pressing down on different spots to compare. For more tips on assessing insole longevity, visit How Long Do Orthotics Last: Timeless Comfort.
Also take into account how long you’ve had your current insoles. The average lifespan is 6 months to a year of daily wear. Athletic shoe insoles tend to wear out faster with all the impact they take. If it’s been awhile, an upgrade might be in order even if they aren’t damaged.
ii. Cleaning and Prepping for Repairs
Before making any fixes, give your insoles a gentle wash and let them air dry to remove dirt and bacteria. Hand washing delicately with mild soap and water works best. If the insoles are removable and machine washable, use cold water and air dry instead of the dryer.
Make sure insoles are completely dry before attempting repairs. Leftover moisture can negatively impact adhesives and padding materials. It helps accelerate wear and tear over time as well. Learn more about how to clean shoes insole in our guide on proper care and maintenance of insoles.
iii. DIY Quick Fixes
Here are some easy ways to repair worn spots and restore lost comfort at home:
a. Smooth Out Uneven Sections
If certain areas of your insoles have worn down more than others, a bit of sanding can help even them out. Use medium grit sandpaper and gently smooth down any raised edges or compressed sections. Don’t sand away more material than necessary.
b. Fill Cracks and Holes
For small cracks and holes, you can use household items like clear nail polish, shoe glue, or silicone caulk to fill them in. This prevents debris getting inside that would worsen the cracks. Apply a thin layer of your adhesive, let dry completely, then file down any raised areas if needed.
c. Reinforce Worn Areas
Cut moleskin, foam, felt, or gel pads to size and use adhesive to reinforce worn sections prone to more damage. These provide extra padding and support right where you need it most while keeping the original insole shape intact. Concentrate on high pressure spots like heels, balls of feet, and arch areas.
d. Improve Cushioning
New insoles can be expensive, so you can also place soft insole cushions or foot pads directly on top of your worn ones instead. This adds overall thickness and shock absorption without replacing the originals. Look for cushioning gels, memory foam, or impact absorbing materials.
iv. When It’s Time for New Insoles
If your insoles are too badly damaged or compressed to repair, it’s best to invest in a fresh pair. Replacing worn out insoles regularly is crucial for proper foot health and comfort.
Here are signs it’s time to upgrade:
- You’ve repaired them multiple times but issues persist
- They’ve lost so much cushioning that your feet hurt
- The insoles are misshapen and no longer support your arches properly
- There are holes or tears beyond a quick fix
- It’s been over 6 months of daily wear (or a year for less frequent use)
Replacing insoles every 6 to 12 months ensures you get the proper cushioning and support for maximum comfort.
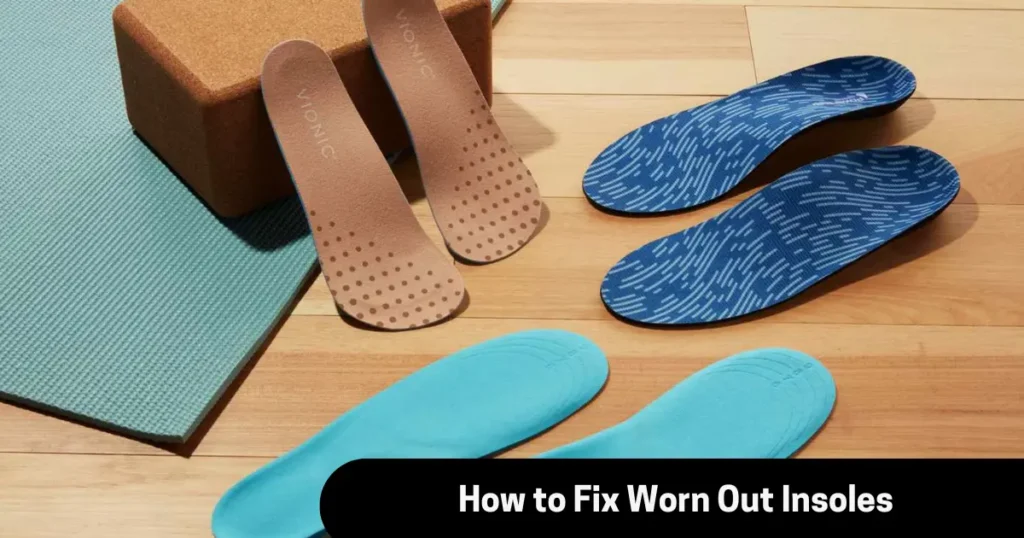
v. Choosing Replacement Insoles
When the time comes for new insoles, you can buy pre-made or custom options.
Custom vs Store Bought Considerations: Custom-molded insoles provide an exact match to your feet but cost more. Store varieties feature generic shapes that still offer support and may suffice if you have average arches and foot shape. Visit a podiatrist for custom insoles or running specialty shops for analyses to find the best store-bought choice.
Features to look for include arch support, shock absorption, moisture wicking layers, anti-microbial properties, and metatarsal padding. Make sure any new insoles match the fit of your favorite shoe brand and model. Bring the shoes with you when shopping for the best replacement pair.
Conclusion
With some practical know-how on how to fix worn out insoles, you can rejuvenate them instead of buying new shoes. Look for signs like cushion compression, uneven wear, and cracks or holes. Smooth, fill, and reinforce damaged areas using simple household items. For extensively worn insoles, replace them every 6 to 12 months to ensure ongoing foot comfort and health.
Frequently Asked Questions
Q1: How can I make my insoles last longer?
Rotate pairs of shoes so you wear each set less frequently. Also allow shoes a day to air out and dry between wears to prevent moisture deterioration. Consider adding protective inserts that sit atop insoles for an extra barrier against wear.
Q2: What glue works best for repairing insoles?
Shoe repair glue, clear nail polish, silicone caulk, and super glue all work to fix cracks and holes. Shoe glue tends to create the smoothest, most flexible bond once dried. Apply all adhesives thinly and allow 24 hours to fully cure.
Q3: Should I use moleskin under or over my insoles?
For the best reinforcement and comfort, apply moleskin padding directly on top of worn spots on the insoles themselves before placing them back into shoes. The soft felt side should touch your foot. This way it stays firmly in place.
Q4: Can I put new insoles over my old ones?
Yes, adding fresh insoles on top will provide extra cushioning and support if your current pair is too worn down. Choose replacement insoles that match your shoes’ dimensions so they stack properly. Make sure to replace the bottom pair once they’re too far gone.
Q5: Is it better to get custom-made or store-bought replacement insoles?
Custom-molded insoles match your exact foot shape for superior comfort and support. But store varieties work well for those with average proportions. Visit a foot specialist to determine if custom is best for issues like high arches or pronation. Shop specialty stores for high quality pre-made insoles otherwise.