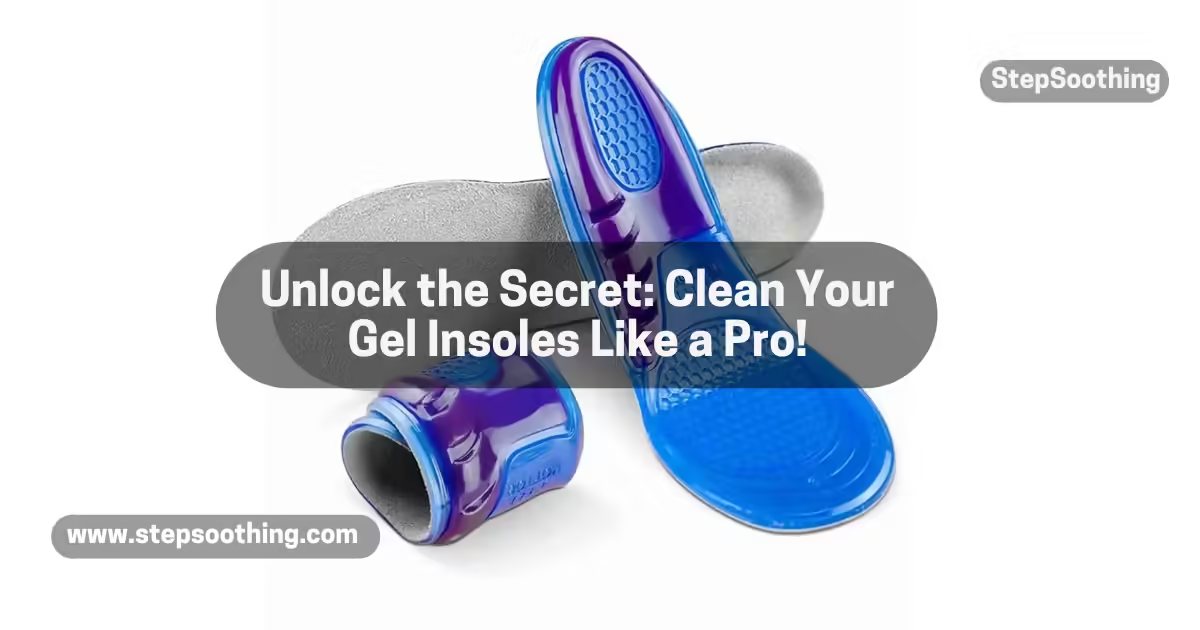
Cleaning your Gel Insoles might not seem like a top priority, but trust me, it’s more important than you think! Not only do clean insoles help your shoes smell fresher, but they also extend the life of your footwear. Let’s dive into this step-by-step guide on how to clean gel insoles effectively.
Why You Should Clean Your Gel Insoles
Benefits of Clean Insoles
Cleaning your Gel Insoles regularly can improve comfort and hygiene. Over time, insoles collect dirt, sweat, and bacteria, which can lead to unpleasant odors and even foot problems. Here are a few benefits:
- Enhanced Comfort: Clean insoles provide better cushioning and support.
- Prolonged Lifespan: Regular maintenance helps them last longer.
- Improved Foot Health: Reduces the risk of infections and foot odor.
Signs Your Insoles Need Cleaning
Wondering if it’s time to give your insoles some TLC? Look for these signs:
- Odor: A strong smell can indicate bacteria buildup.
- Visible Dirt: If they look grimy, it’s cleaning time.
- Discomfort: If your feet start to feel sore or irritated, your insoles might be the culprit.
Materials Needed for Cleaning
Before we get started, let’s gather what you need.
Essential Supplies
- Mild soap or detergent
- Water
- Soft brush or cloth
- Towel
Optional Tools
- Vinegar (for deodorizing)
- Baking soda (for tough stains)
- A spray bottle (for easy application)

Step-by-Step Cleaning Process
Now that we have our supplies ready, let’s jump into the cleaning process!
Removing the Insoles
Start by taking the insoles out of your shoes. This is crucial; cleaning them while they’re still in the shoe can be ineffective and messy.
Initial Rinse
Give your insoles a quick rinse under lukewarm water. This helps remove surface dirt and prepares them for a deeper clean.
Cleaning Solution Options
You have a few choices for what to use to clean your insoles. Here are some popular options:
Soap and Water
Mix a few drops of mild soap with water. Use a soft brush or cloth to gently scrub the insoles, focusing on areas that seem particularly dirty.
Vinegar Solution
For a more natural approach, mix equal parts of vinegar and water. This solution is great for breaking down odors while disinfecting.
Baking Soda Paste
If your insoles are especially grimy, make a paste of baking soda and water. Apply it to the stains and let it sit for about 15 minutes before scrubbing.
Scrubbing the Insoles
Gently scrub the insoles using your brush or cloth. Focus on areas with visible stains or odors. Be careful not to use too much force, as you don’t want to damage the gel material.
Rinsing and Drying
After scrubbing, rinse the insoles thoroughly under running water to remove all cleaning solution residues. Pat them dry with a towel and allow them to air dry completely in a well-ventilated area. Avoid direct sunlight, as this can warp the gel.

Cleaning Different Types of Gel Insoles
Athletic Gel Insoles
For athletic gel insoles, follow the same cleaning process, but consider using a specialized cleaner designed for sports gear if they are particularly dirty or smelly.
Orthotic Gel Insoles
Orthotic gel insoles often have specific care instructions. Always check the manufacturer’s guidelines; some may require less water or specific cleaning agents to maintain their shape and support.
Everyday Comfort Insoles
These insoles can usually be cleaned with soap and water. Maintain a regular cleaning schedule to keep them smelling fresh and working well.
Memory Foam and Gel Insoles
Memory foam and gel combinations require a bit of extra care. Avoid soaking them in water, as it can ruin the memory foam. Instead, use a damp cloth with your cleaning solution and gently wipe the surface.

Maintaining Gel Insoles
Now that your insoles are clean, let’s talk about how to keep them that way!
Regular Cleaning Schedule
Aim to clean your gel insoles every 2-4 weeks, depending on how often you wear them. If you notice any odors or stains, don’t hesitate to clean them sooner.
Storage Tips
When you’re not using your insoles, store them in a cool, dry place. Avoid leaving them in damp or hot environments, as this can promote mold and bacteria growth.
Common Mistakes to Avoid
- Using Harsh Chemicals: Strong cleaners can damage gel insoles.
- Using Hot Water: Hot water can damage the gel material. Stick to lukewarm.
- Skipping the Rinse: Always rinse thoroughly to remove all cleaning agents.
- Forgetting to Dry Thoroughly: Damp insoles can lead to mold and odors. Ensure they’re completely dry before putting them back in your shoes.
- Ignoring Manufacturer Guidelines: Always check for specific care instructions to avoid voiding warranties.
Conclusion
Cleaning gel insoles is a simple yet essential task that can greatly enhance your comfort and foot health. By following these steps, you can keep your insoles fresh and extend their lifespan.
Remember, a little maintenance can make a big difference! If you’re curious about cleaning other types of insoles—like Sandals Insoles, Fixing Peeling Insoles, Clean non removable Insoles, or maintaining leather shoe insoles—check out more tips at Stepsoothing!
People Also Asked
How often should I clean my gel insoles?
Aim to clean them every 2-4 weeks, or sooner if they start to smell.
Can I put gel insoles in the washing machine?
It’s best to avoid the washing machine, as it can damage them. Hand cleaning is recommended.
What if my insoles still smell after cleaning?
Try using a vinegar solution or sprinkle baking soda on them and let it sit overnight.
Can I use bleach to clean my gel insoles?
No, bleach is too harsh and can damage the gel material.
How do I dry my insoles quickly?
After patting them dry with a towel, place them in a well-ventilated area away from direct sunlight.
How can I prevent my insoles from getting dirty?
Regular maintenance, using socks, and keeping your shoes clean can help minimize dirt buildup.


