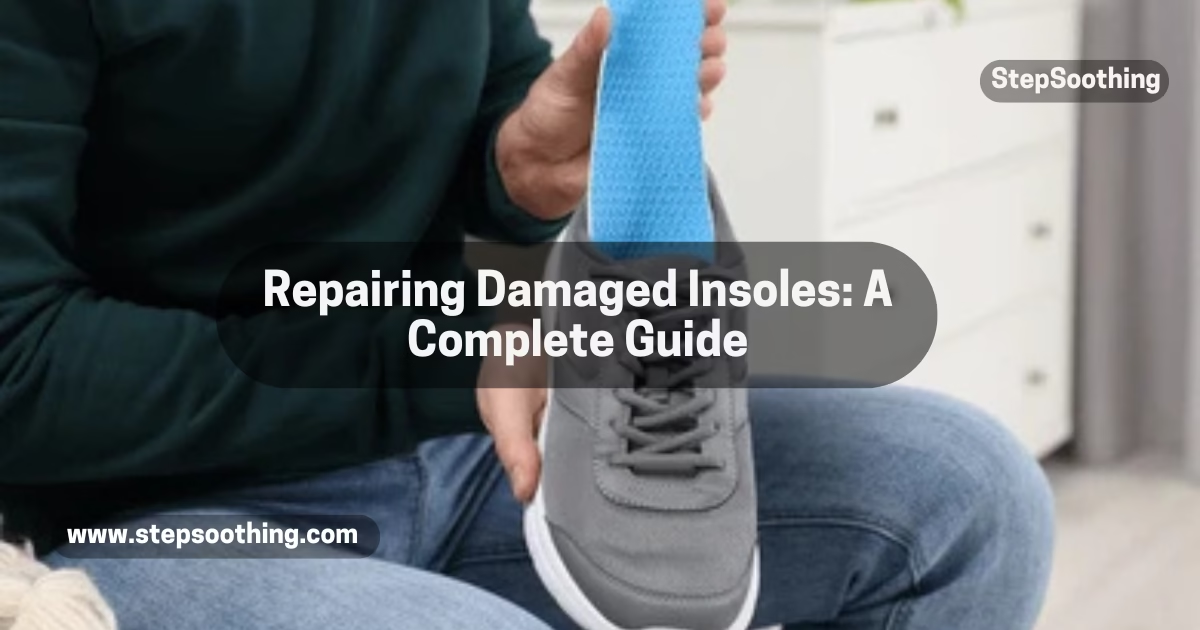
Insoles play a crucial role in the comfort and support of your shoes. Whether you’re walking, running, or standing for long periods, your insoles provide the cushion and support your feet need. However, over time, insoles can become damaged due to wear and tear, and many people are unsure how to repair them. The good news is that repairing damaged insoles is possible, and in many cases, it’s quite simple. In this guide, we’ll explore the causes of insole damage, how to repair different types of insoles, and how to maintain them to ensure they last longer.
Repairing Damaged Insoles
Introduction to Insole Repair
Insoles are more than just soft padding for your shoes. They offer crucial support, absorb shock, and help distribute pressure evenly across your feet. However, like any component of your shoes, insoles can wear out or become damaged. Whether it’s the foam breaking down, gel insoles leaking, or orthotic inserts losing their shape, knowing how to repair and maintain them can save you time and money while keeping your feet comfortable.
Why Insoles Get Damaged
Insoles take a lot of punishment. Whether you’re walking, running, or just standing for long periods, your insoles endure constant pressure and friction. Understanding the common causes of insole damage can help you take better care of them and prevent further wear.
Common Causes of Insole Damage
- Prolonged Use: The more you wear your shoes, the faster the insoles wear down. Heavy use can cause the cushioning to compress, reducing the insoles’ effectiveness.
- Moisture: Sweat, rain, or moisture trapped inside the shoe can weaken the insole materials, leading to wear and odor.
- Improper Fit: If your shoes don’t fit properly, the insoles can become stressed in certain areas, leading to faster damage.
- Material Quality: Low-quality insoles may break down more quickly than high-quality alternatives. Insoles made from foam or cheap rubber tend to lose shape faster.
How to Identify Damaged Insoles
You can usually tell when your insoles need attention. Some signs you need new insoles include:
- Flattening or Compression: Over time, the cushioning may become flat, offering less support.
- Tears or Holes: Small tears or holes may develop, reducing the insole’s effectiveness.
- Odor: A persistent odor that doesn’t go away after cleaning could be a sign that your insoles need replacing.
- Visible Cracks: Gel insoles or inserts can crack or leak, making them less effective.
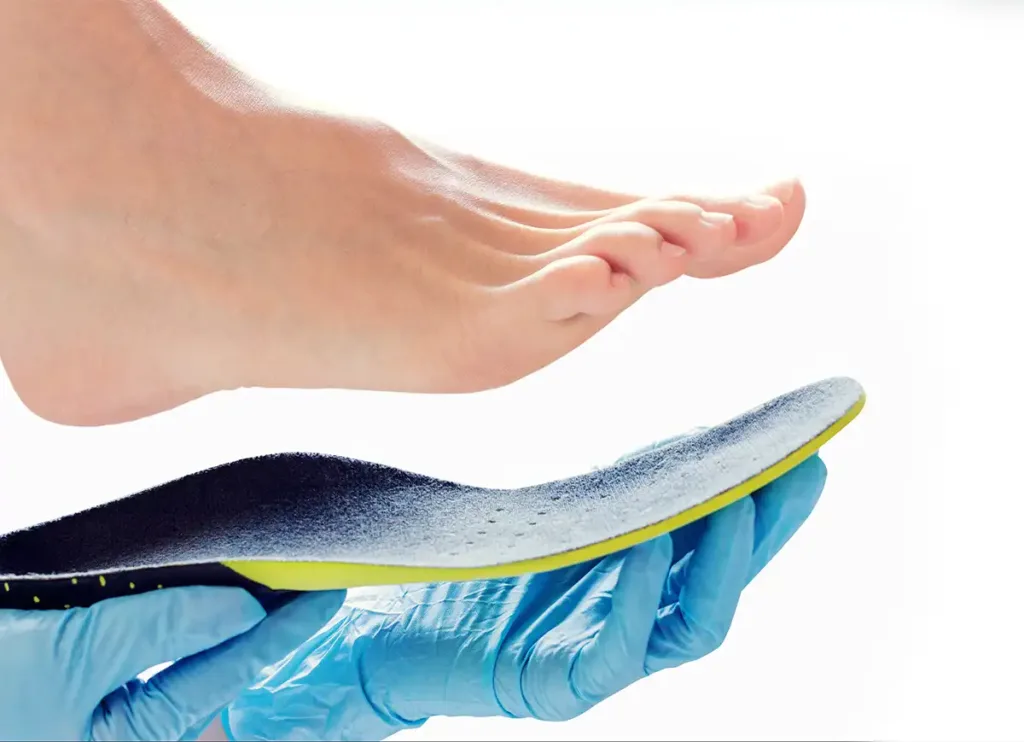
How to Repair Different Types of Insoles
Repairing insoles depends on the type of material they’re made from. Foam, gel, and orthotic insoles each require different approaches to fixing the damage. Here’s how to tackle each one.
Fixing Worn Foam Insoles
Foam insoles are known for their comfort, but they can wear down quickly, especially with heavy use. If you notice that your foam insoles are losing their shape, try the following:
- Reinforce with Additional Cushioning: You can add an extra layer of cushioning material, such as felt or fabric, to the worn-out areas. This helps restore some of the lost support.
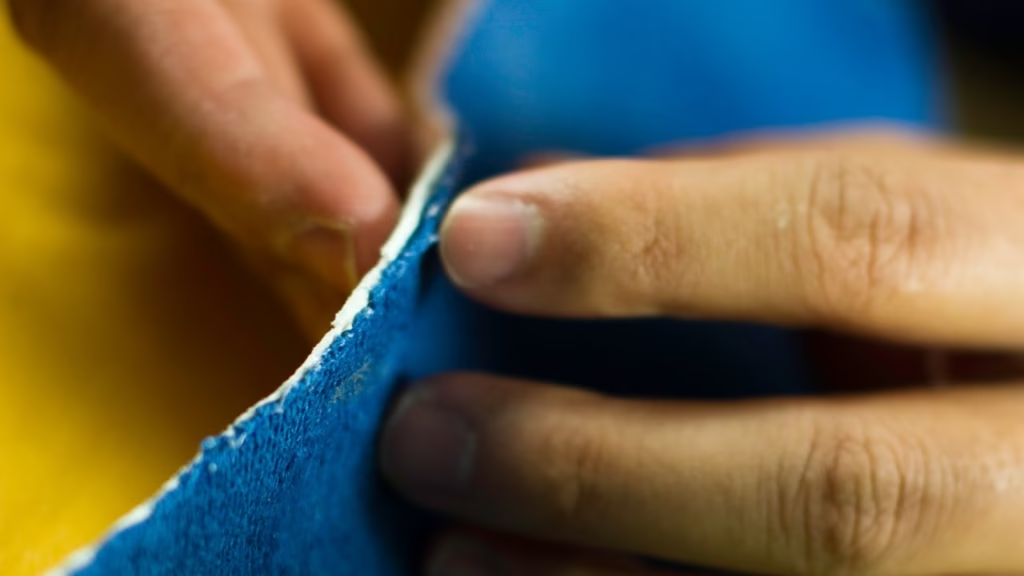
- Use Adhesive: If there are small tears or rips, a strong adhesive can be used to seal them and keep the insole intact.
Repairing Gel Insoles
Gel insoles offer excellent cushioning but can be prone to cracking or leaking over time. If you notice any damage:
- Silicone Tape: For small cracks or leaks, silicone tape or gel adhesive can be used to patch up the problem. Ensure the adhesive is flexible to allow the insole to move comfortably.
- Replace Gel Inserts: If the gel has completely leaked out or the damage is extensive, you may need to replace the gel inserts entirely.
Dealing with Orthotic Insole Damage
Orthotic insoles are designed for more specialized support, but they can also be susceptible to damage. For orthotics with cracks or minor tears:
- Use a Strong Adhesive: Apply a durable adhesive to the tear, ensuring that the material is pressed firmly together.
- Replace Worn Sections: If the orthotic insole has areas that are no longer providing proper support, it might be time to replace the damaged sections or the entire insole if necessary.
How to Clean Gel and Orthotic Insoles
Regular cleaning helps prolong the life of your insoles and keeps them free of bacteria and odors. Here’s how to clean both gel and orthotic insoles without causing further damage.
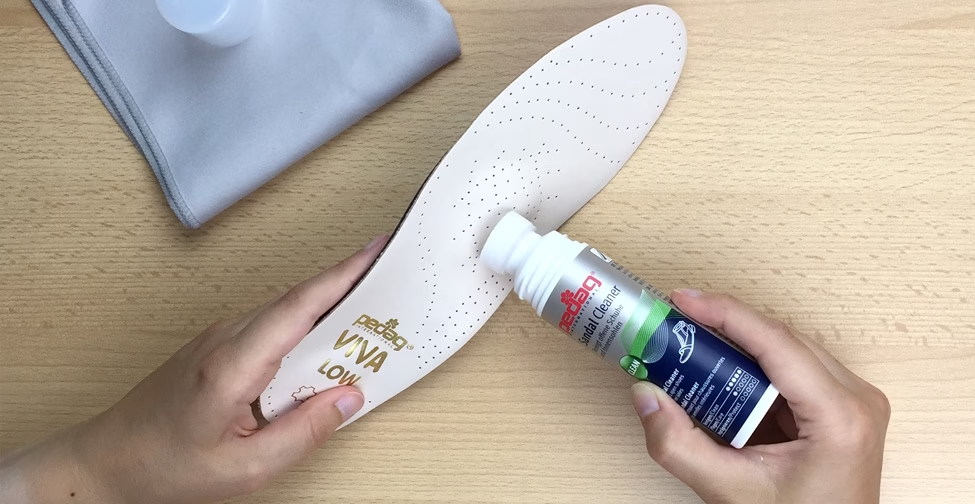
Proper Cleaning Methods for Gel Insoles
Cleaning gel insoles is easy but requires a bit of care:
- Mild Soap and Warm Water: Use a damp cloth with mild soap to gently clean the surface of the gel insoles. Avoid soaking them or exposing them to excessive moisture.
- Air Dry: After cleaning, let your gel insoles air dry completely. Never place them in direct sunlight or use a heater, as this can damage the gel material.
DIY Insole Cleaning Solutions for Orthotic Insoles
Orthotic insoles should be cleaned carefully to avoid damaging the support structure:
- Use a Damp Cloth: Wipe down the surface with a damp cloth. If needed, add a small amount of mild soap, but don’t soak the insoles.
- Dry Properly: After cleaning, allow the orthotic insoles to dry in a well-ventilated area, away from direct heat sources.
Best Practices for Insole Maintenance
Taking care of your insoles goes beyond cleaning and repairs. Here are some best practices to help your insoles last longer.
Storing Insoles to Extend Their Lifespan
Proper storage can make a big difference in how long your insoles last:
- Air Dry Before Storing: Always allow your insoles to dry completely after cleaning or use. Storing damp insoles can cause mold and unpleasant odors.
- Cool, Dry Place: Store your insoles in a cool, dry place to prevent moisture damage. Avoid leaving them in direct sunlight, as this can cause the material to warp or degrade.
How Often to Replace Shoe Insoles
Even with the best care, insoles will eventually need to be replaced. Here’s a general guideline on how often to replace shoe insoles:
- Every 6 to 12 Months: For most people, insoles should be replaced at least once a year, depending on usage.
- Frequent Use: If you’re on your feet all day or engage in high-impact activities, you may need to replace your insoles more often.
Preventing Future Insole Damage
Taking a few proactive steps can prevent damage and extend the life of your insoles.
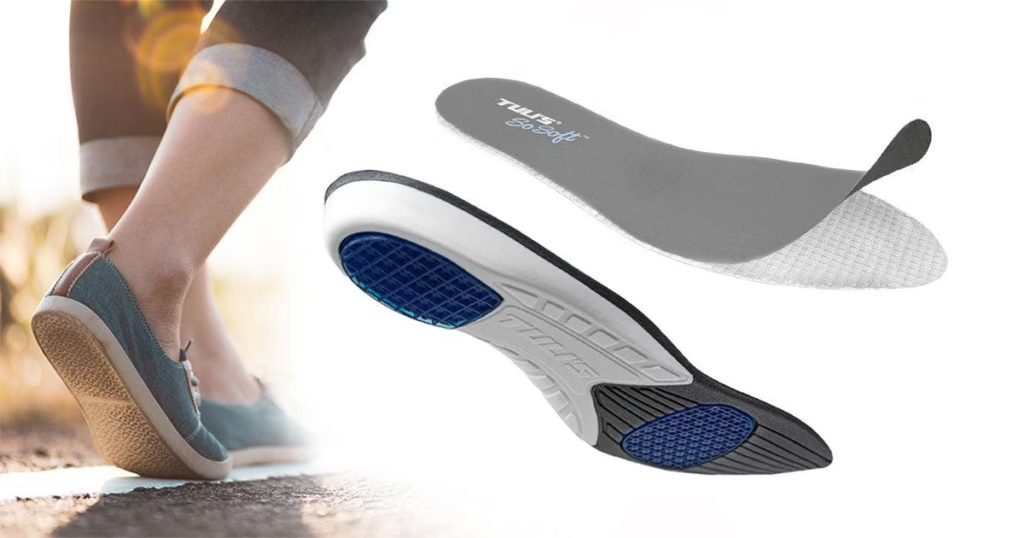
Selecting the Right Insoles for Your Needs
Choosing the right insoles for your specific needs is crucial:
- Gel Insoles: Ideal for cushioning and shock absorption.
- Foam Insoles: Lightweight and comfortable, suitable for daily use.
- Orthotic Insoles: Provide additional support for those with foot issues like flat feet or plantar fasciitis.
How to Protect Insoles from Wear and Tear
- Rotate Shoes: By rotating between several pairs of shoes, you reduce the constant pressure on your insoles, allowing them to last longer.
- Avoid Walking on Rough Surfaces: Walking barefoot on rough or abrasive surfaces can wear down your insoles quickly.
Conclusion
Repairing and maintaining your insoles is an easy way to ensure that your shoes remain comfortable and supportive. Whether you’re dealing with foam, gel, or orthotic insoles, knowing how to handle damage and perform regular maintenance can save you money and provide lasting comfort. By following the tips in this guide, you’ll be able to keep your insoles in excellent shape for longer, improving foot comfort and enhancing your overall shoe experience.
People Also Asked
How do I know if my insoles need replacing?
Look for signs you need new insoles, such as visible damage, flattened cushioning, or reduced comfort. If your insoles no longer provide support or cushioning, it’s time to replace them.
Can I repair gel insoles myself?
Yes, small cracks or leaks can be patched with silicone tape or gel adhesive. However, if the damage is extensive, replacement may be necessary.
How often should I clean my insoles?
Clean your insoles every few weeks or as needed to keep them fresh and odor-free. Regular cleaning is also key for maintaining the lifespan of insoles.
Can I wash orthotic insoles in the washing machine?
It’s best to avoid machine washing. Instead, clean orthotic insoles by hand with a damp cloth and mild soap.
How can I prevent my insoles from getting damaged?
Store them properly, clean them regularly, and avoid using worn-out shoes to protect your insoles from damage, helping to maintain the lifespan of insoles.
Learn More
- Revitalize Your Atoms: A Guide to Replacing Insoles for Comfort and Support · Atoms · Atoms.com
- The arch support insoles show benefits to people with flatfoot on stance time, cadence, plantar pressure and contact area – PMC
- Orthotic approach to prevention and management of diabetic foot: A narrative review – PMC